Tag Archives: gallery

Hole{s} In The Wall

Lately I am obsessed with gallery walls.

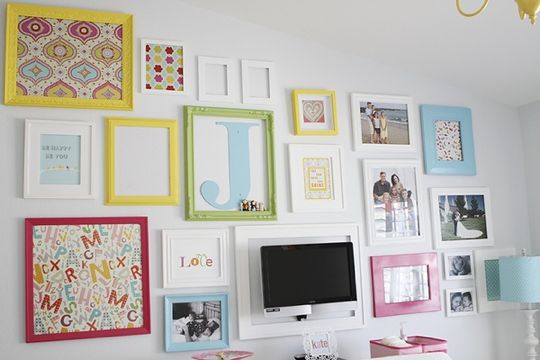
I’ve mentioned our WHITE walls here a million times, but I’m actually not minding them as much when I hang clusters of pictures, artwork and whatnot on them and create a little gallery.

I’m in the process of doing one in Elliott’s room with some vintage plates, a mirror, a frame and whatever else comes to mind.

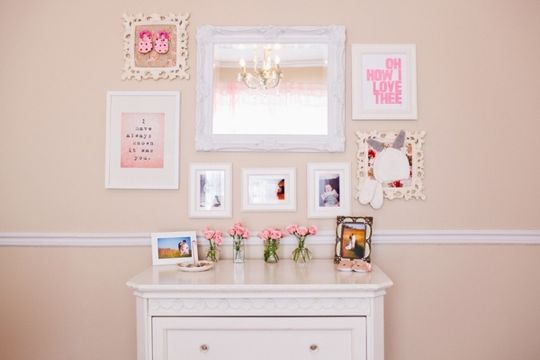
Here are a few that jumped out at me on Pinterest.

{via}

{via}

{via}

I hesitate putting so many holes in the walls since I’m not sure how much longer we’ll be living here, but while we ARE here, I want the kids to feel that their rooms are {finished} and that we’re not in some sort of temporary holding tank…which is how I’ve felt for the past 3 and a half years.

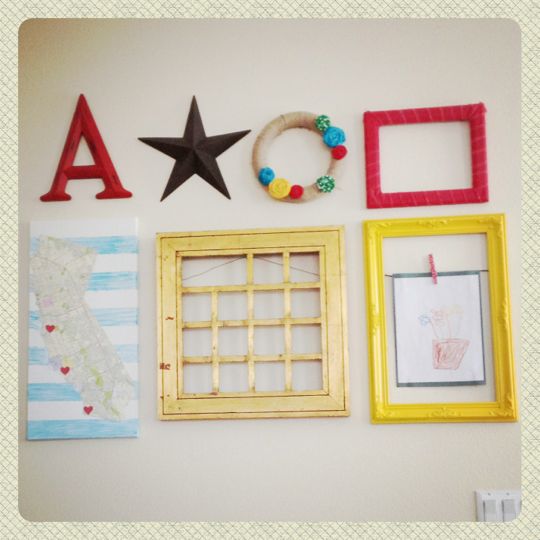
And here are a few recent groupings that I’ve hung making the white more bright and tolerable…

{going up the stairs}

{landing at the top of the stairs where the kids’ reading nook is}

{downstairs in our great room}

*****

I have enjoyed scouring stores, thrift shops and garage sales for old frames, making a few crafts here and there and employing a can or two of spray paint to create these little spaces. It’s amazing too what things you can find around the house to add to these galleries. Again, the most boring, Goodwill bound item can be transformed quickly and easily with a can of Rustoleum and hung with a hammer and a nail.

And {another} hole in the wall.
Priceless Art

Elliott comes home from school with lots of artwork. LOTS. I can’t save it all. I won’t save it ALL. Remember, I am simplifying.

I decided to intersperse some of her cute little marble paintings and tissue paper art in with my new picture gallery project:

I thought it added a little je ne sais quois. A little pizzaz. I’ve never been afraid of color.

I LOVE IT!

(I know, I still need to find two more pics…)

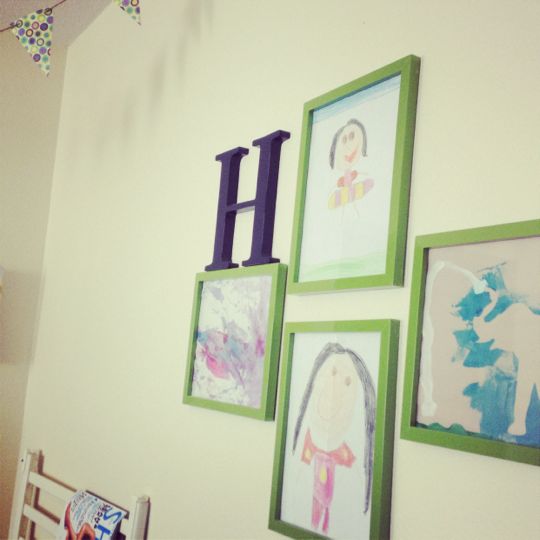
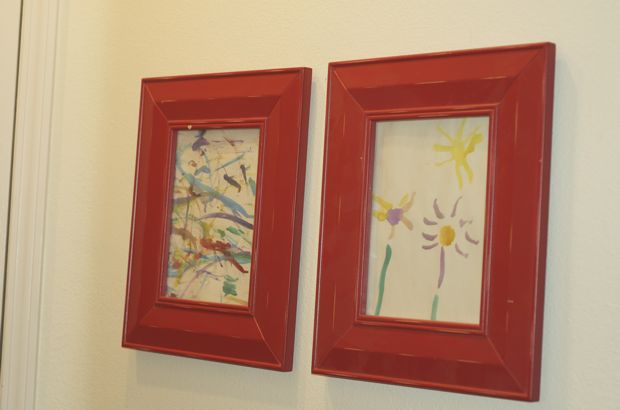
I also had these two red frames that I got from Pottery Barn Kids for cheap before Elliott was born. They were home to 2 of her sonogram pictures over her changing table. I love these frames and wanted to do something special with them. Last Summer the kids painted some water colors in the backyard and I decided these were the perfect pieces for my red frames!

Holden’s masterpiece on the left and Elliott’s on the right.

I am loving having their art displayed throughout the house. I can’t wait for Holden to start preschool this Fall so I can have some great new pieces of priceless art for FREE.

It’s so easy to change them out from time to time.

Next crafty project: having the kiddos paint a couple pieces for our room.

Stay tuned!

Hammer Time!

I’ve been wanting to do some sort of photo gallery in our stairwell. Something to “cover up” the white walls…..they’re killin’ me! I don’t like white walls, but since we’re renting, there really isn’t much I can do….I guess I could get the OK to paint from the property management peeps, but since I also don’t love to paint, I will just live with the white walls while we’re here and try to spice them up a little. I haven’t wanted to hang too much, but since I don’t know how long we’ll be here, I wanted to make the place as homey as possible.

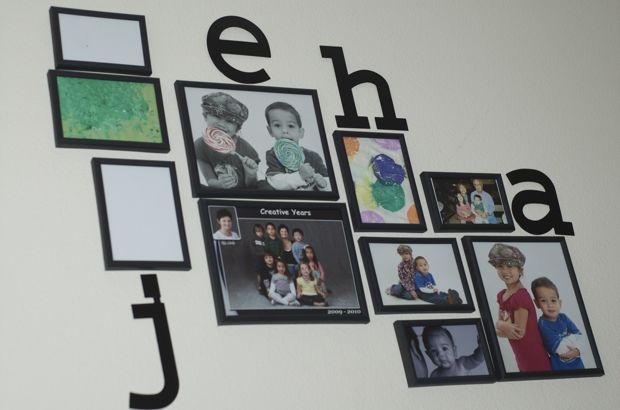
So, I was at my second home last week (hint: red bulls eye) and came across a set of 10 black frames in differing sizes for $6.24! (marked down from $24.99!!) They even included some layout suggestions on the box. The frames are lightweight which is great so I was able to use tiny nails and didn’t have to drive big nails into the wall. Yesterday I grabbed a hammer, some nails and a measuring tape and went to town.

But the frames themselves were a little TOO simple ~ I needed something else to liven them up a bit…

At Michael’s I found some black letters with little hooks on the back for $1.00 each. I had a coupon for 20% off so they came to 80 cents each! So, for an add’l $3.20, I was able to complete my gallery and be pretty pleased. For a total of $9.44 (not including tax or the cost of the photos) I created this:

I’m pretty impressed.

Now, I am SUPER DUPER anal about picture hanging. Must. Use. Level. It was hard for me to kind of “eyeball” this project. What I did was get a large piece of paper from Elliott’s easel, layout the frames in the order I wanted them, traced the frames, hung the paper on the wall with tape, hammered the nails into the wall through the paper and then removed the paper before hanging the pics. This worked pretty well.

I am constantly going to be on the lookout for crooked frames here since that is another one of my pet peeves! But all in all, I think it turned out OK for a temporary fix! Now I just need to find four more of my favorite pics to complete the gallery…shouldn’t be too hard.

First “crafty” project of the year….cheap & successful. Can’t beat that!