Sweetart
I’ve been aware of cake balls/cake pops for awhile now. My friend, Alisah, in Texas told me about cake balls a couple years ago…I had to literally talk myself out of making them. I would say I did pretty well…
However, making cake pops {just cake balls on a stick} was on our Summer 2011 To-do List and so that is what we did over the weekend!
I had my first cake pop a couple months ago and was underwhelmed. The inside was WAY to gooey for how I imagined cake pops to be. I wanted to make sure and strike the perfect balance between cake and frosting without them being too gooey or, for that matter, too dry and crumbly. I’d seen several recipes, but Wendy’s tutorial was the best! Humor is a must when you’re making these things….
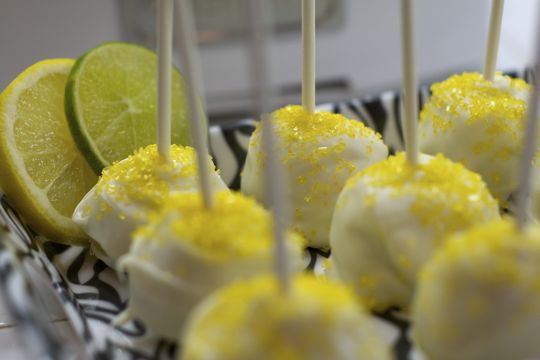
I decided to make Lemon Lime Cake Pops
{the perfect combination of sweet & tart!}
I started with this:
{just prepare and bake cake as directed on box. the only changes I made were adding the zest of one lime to the mix and using the juice of one lime as part of the water measurement. I baked in a 9X13 pan, let cool and then crumbled into a large bowl}
Then I added some of this:
{Duncan Hines has a lemon frosting but I thought that may be a little too much so I decided on classic white. I also added a little more fresh lime zest to the crumbled up cake before mixing in the frosting. I used about 3/4 of container [this was the smaller size, NOT the taller one]. Just stir with a spoon and the mixture will come together and you will see that it becomes “rollable”}
Stick it into the fridge for about 30 minutes before rolling into balls.
I used this to help with the sizing:
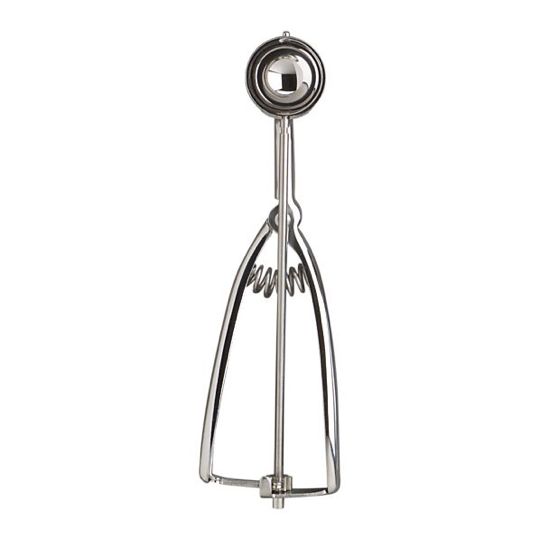 {Once I scooped out the cake mixture and dropped it on some parchment paper, I hand rolled into smooth balls and placed them back onto the parchment paper and back into the fridge for about 30 more minutes while I got the coating ready}
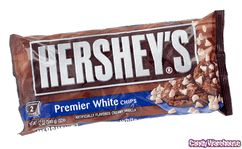
Take a bag of these:
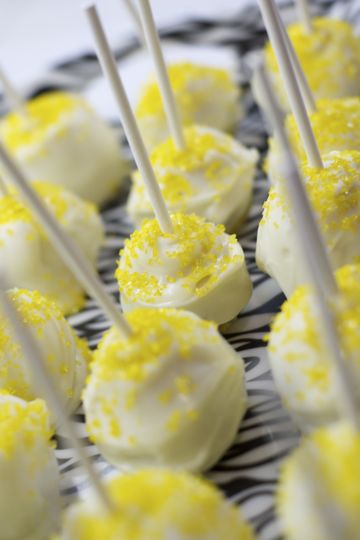
{You have to be REALLY careful when heating these in the micro…I screwed up the first bag! 30 seconds on half power, stir, 15 seconds on 50% power, stir, and repeat in 15 second [50% power] intervals until smooth. Dip your lollipop stick into just a bit of white chocolate and insert into cake ball. The chocolate acts as a glue. You now have a naked cake pop! Once you have all the sticks inserted, use a spoon to coat the pops with the chocolate. This is the time consuming part. For some reason these Hershey chips were not as runny as I would have liked them to be…I thought I was going to be able to dip the pops into the chocolate and get a nice smooth coating…not so, but still didn’t look too bad. Next time I’ll use Wilton candy melts…I think they melt down a little smoother. Place your newly dressed pops onto parchment paper and douse with sanding sugar, jimmies, or sprinkles. You’re done!}
There was one point in this process when I swore I would never make these again, but once I popped one in my mouth, that all changed. I will definitely be passing plates of these out whenever I do make them because they are way too dangerous to have in the house.
Looking forward to creating different combinations for Halloween, Fall, Christmas, Valentine’s Day, Easter, etc.
How about a spice cake mix, cream cheese frosting and butterscotch chip coating? Wonder if those would melt down nicely.
Or chocolate cake mix, chocolate frosting and Reese’s peanut butter chips?
Strawberry cake, cream cheese frosting and white chocolate coating for a girly baby shower or Valentine’s Day?
Cake batter cake pops with yellow cake, rainbow sprinkles mixed in with the frosting then coated in yellow candy melts and showered with more rainbow sprinkles?
The cake pop possibilities are endless…….
Happy Tuesday!
Linking up over at Lady Behind The Curtain
Linking up a day early over at Sugar and Dots.
