Flip Flop Fiestas ~ Venue & Decor
Part 3 ~ Venue & Decor
I love doing house parties, but those get redundant after awhile and it’s nice to try something new. As the kids get older, they’re more interested in heading {off site} to something that has a little more going on.
There are SO many places that you can throw a party…
Park, beach, community swimming pool or clubhouse, firehouse, ice skating rink, Build-A-Bear, paint a ceramic, gymnasium for a gymnastics party, jumpy house place, mini golf, cooking school, pumpkin patch for October birthdays, movie theater, mobile video game truck, Lego store, dance studio, zoo, nail salon, animal shelter to walk the dogs, skateboard park…the destinations are endless! Use your imagination. Call up to see if you can arrange something.
There is a state park near us that brings out live animals every Saturday afternoon. They have picnic tables and PLENTY of room for running and exploring. This is where Elliott’s party will be this year. They do not do anything other than show and talk about the animals…you have to get there early to get a spot and set-up. I thought this was a different venue and somewhere that would allow LOTS of people!
Now let’s talk about decor. I like to try and keep it simple and semi-homemade. Balloons are a must for me. They are relatively inexpensive and add a pop of color here and there. Plus, I don’t know a kid that will refuse to take a balloon home! Streamers are fun, but sometimes challenging to hang. I am in love with these ~ they are more substantial and can be draped and hung easier…and can be reused! Placing my order soon!
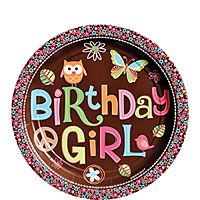
Pick two or three colors and carry them throughout the party. You don’t need to run out and grab the WHOLE section of {Yo Gabba Gabba} paraphernalia…just grab the plates and pull colors from that for the napkins, cups, balloons, etc. This will help everything look cohesive and coordinated without being too matchy matchy. I love these plates from Party City for Elliott’s {outdoorsy nature girl} party…I will probably just purchase these and then get the napkins and cups and other stuff at the dollar store.
Go through your house and see what you already have that you can use to decorate. You’ll be surprised at what you’ll find and it will save you some dough!
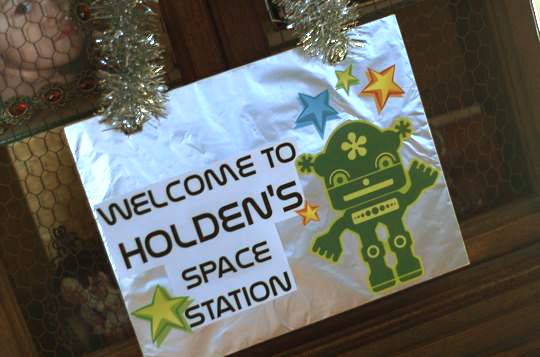
Also, I like to have a little sign to welcome guests. For Holden’s 3rd birthday, I whipped this up with a piece of cardboard, some aluminum foil, Dollar Tree stickers and some post-Christmas tinsel:
Easy, peasy.
Lately buntings or banners are all the rage. Here is a quick and easy tutorial for a paper bunting. Once I get Elliott’s color scheme for her party, I’ll be picking up some scrapbook paper and making one of these! It’s darling with the old pages of a book, but we need a little more color for this party!
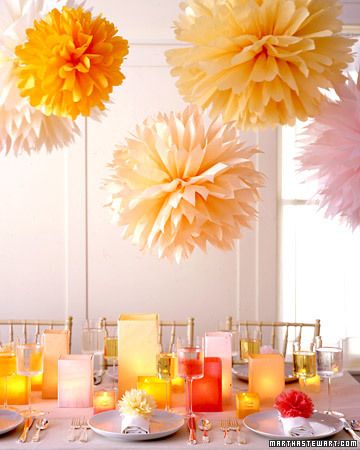
Tissue paper pom poms are a cinch to make with this tutorial.
I also like to display a few pictures of the birthday boy or girl over the years…pick up some frames at the dollar store and spray paint them with the party’s signature colors. You can even clip them onto a ribbon or twine with wooden clothes pins and create a bunting out of them over the mantel.
Flowers are also a nice way to add some color. The cake itself can be a focal point ~ display on a beautiful vintage cake stand or even on a tall cardboard box covered in fun wrapping paper to give it some height.
Roll plastic utensils in coordinating napkins and tie with a ribbon or raffia. Place in a basket or small metal bucket.
All these little things add bits of color and become {decorations}.
*****
Now that you’ve got the place all dolled up, let’s talk about what we’re going to eat!
Serving up tomorrow, Part 4: Food


March 17, 2011 @ 9:38 am
What happy memories you’re bringing “back” and “forward”! Love those tissue paper balls!