Tag Archives: color

Kaleidoscope ~ The Color Run

Well, hello readers!

Are any of you still out there? I sure do kinda miss blogging and hope to post more now that the holidays are upon us….my absolute favorite time of the year.

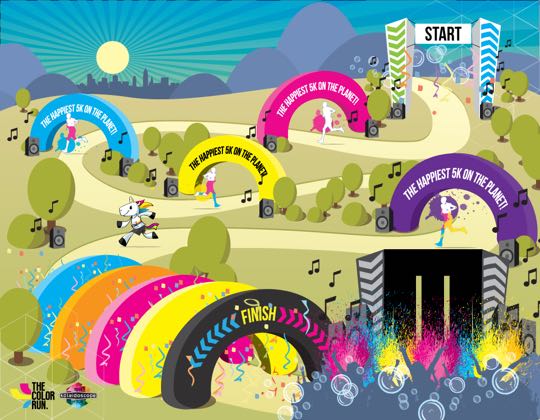
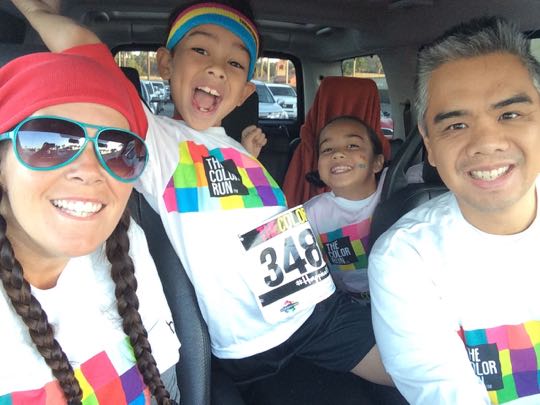
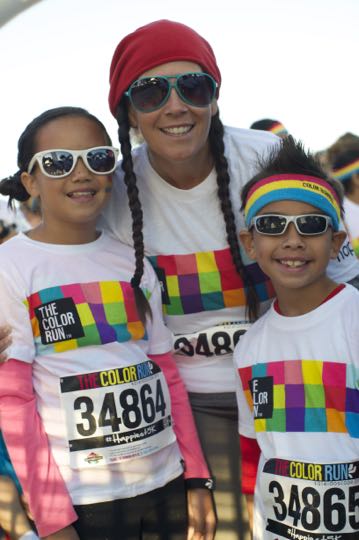
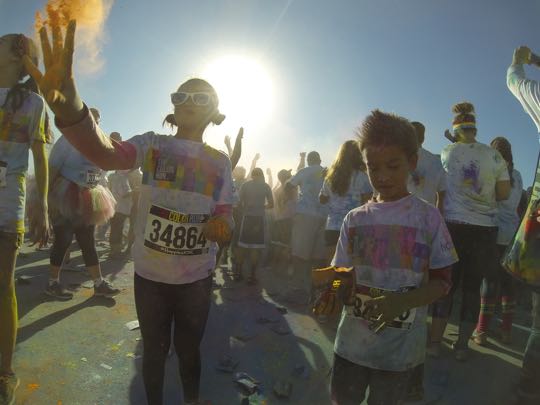
But, what I’m sharing today is the fun time we had this past Saturday morning in Ventura participating in The Color Run. We’d been wanting to cross this off our bucket list for awhile now and coupled with the fact that my vision for this year’s Christmas card involved lots of color, we needed to get this done sooner than later so mama could make sure her vision would be carried out. 😉

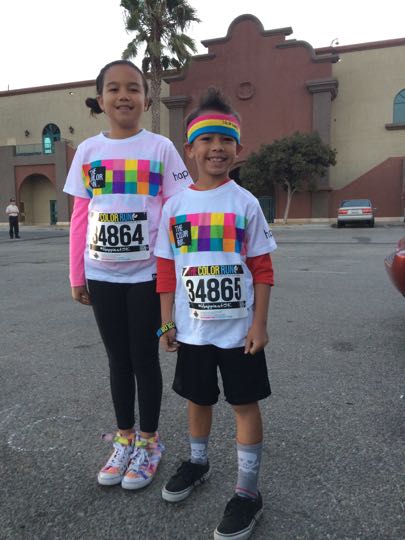
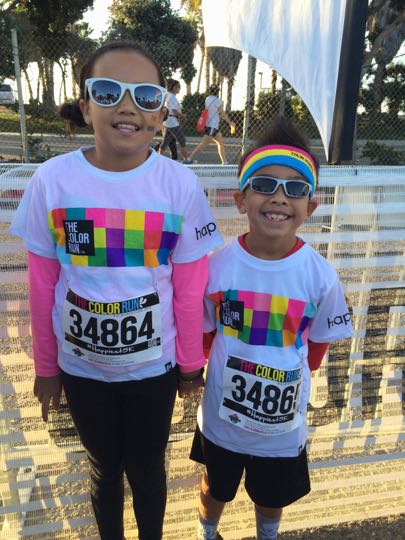
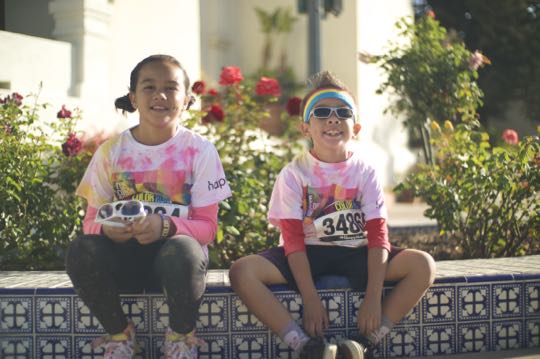
So, we rose super early, threw back some coffee, tied up our tennies and headed out the 126 before the sun came up. Needless to say, the kids couldn’t understand why we woke them up “in the middle of the night”, but once we got there and got our bibs, shirts, temporary tattoos, and headbands, their excitement built.

color1

color2

color3

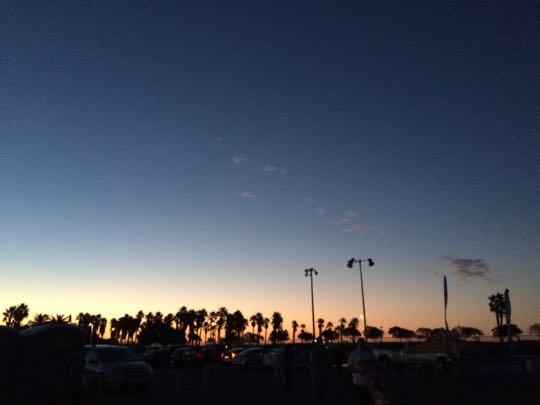
{It was a freezing 51* so we sat in the warm car until it was time to line up in the chute}

color4

color12

color5

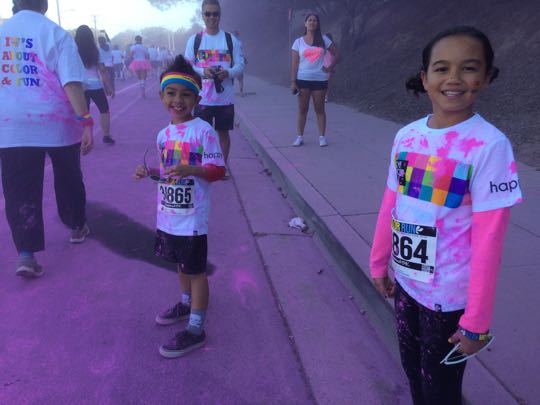
{about a mile in we ran through the pink station}

color6

{…then came yellow…}

color7

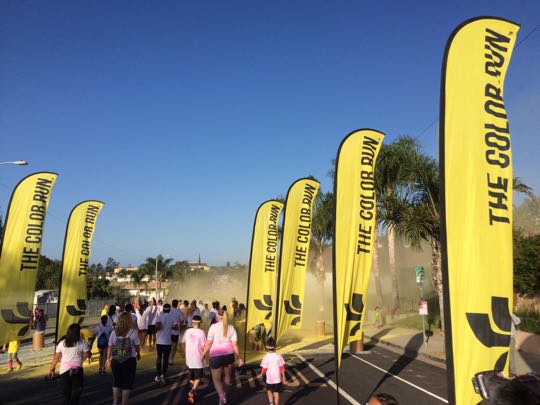
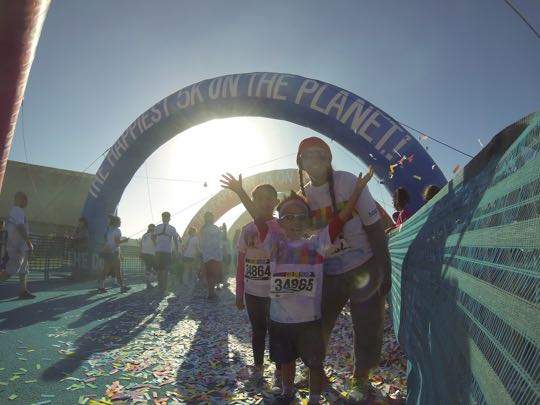
The route took us down Main Street and by the Mission San Buenaventura. It turned out to be a gorgeous morning for “The Happiest 5K on the Planet”.

color13

DCIM106GOPRO

Before we knew it, we ran through the final color station and the kids had fun gathering samples of KIND Bars, McDonald’s smoothies & Oberto Beef Jerky!

color10

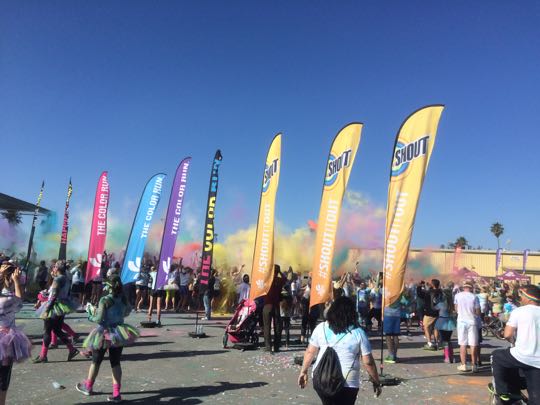
Once you cross the finish line, you are handed your own powder dye pack and encouraged to partake in the group color bomb that happens every 20 minutes or so. The kids were a little skeptical at first, but quickly warmed up to the idea!

color9

DCIM106GOPRO

color11

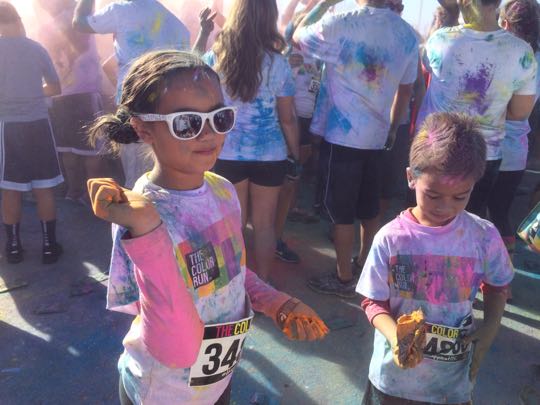
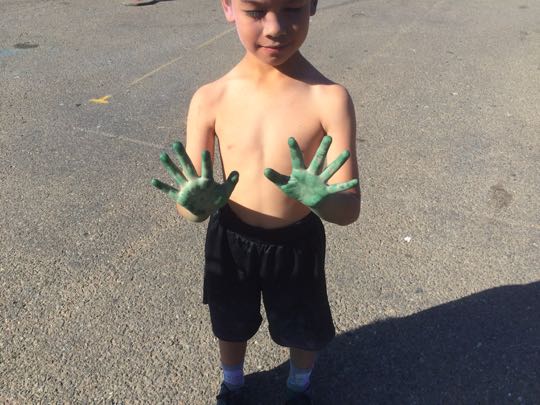
{Holden had Hulk Hands when all was said and done}

*****

So glad we finally did this….the whole family had a blast and the kids are asking when we can do another one.

May I suggest adding this event to your 2015 Bucket List?

So fun!

color15

Paint By Number

Last Friday night my birthday festivities continued with a few neighbor/friend ladies at Color Me Mine . My friend Hollie made the arrangements and brought wine, appetizers and cupcakes to nibble on while we were painting. So fun!

These {paint a ceramic} places have been around for awhile now and I must admit I was never really too interested. I am terrible at choosing colors, can’t draw and my inner critic is much too harsh. If they had a {paint by number} platter where all the colors were pre-chosen and I just had to fill in the design, that would be perfect. Not so. Complete blank slate!

Elliott, however, expressed an interest and was given gift certificates for her last couple birthdays. I took her both times and sat and watched her paint her plate and mug…each time I looked around the store at all the pieces available and thought, “OK, this is something that I might like to do!” It is very deceiving because when you finish your masterpiece, it looks pretty drab and dull and you’re thinking, “this can’t possibly turn into something beautiful!” But after they fire and glaze your piece, it looks amazing no matter what ~ the colors are WAY brighter and it has a gorgeous shine.

I decided to make a family sign…

I wanted it to be bright and cheery with a little reminder of our Fall wedding hence the leaves.

I love how it turned out….I’m going to get some copper wire and glass beads and hang it in a gallery arrangement above our antique couch. I hope it looks as good on the wall as it does in my head.

I highly suggest planning a mama’s night out and doing this. They have stencils, sponges, tape for straight lines, etc. ~ everything you need to make your piece spectacular! You can totally use pencil, paint over it and it won’t show in the end…that part saved me! 😉 The staff is very helpful, too.

Don’t forget to enter my little giveaway ~ only about 15 hours left! 

{BEHR} Necessities

I wanted to share a snippet of a simple little something that I whipped up for my mom’s brunch next weekend.

It literally took less than 20 minutes and will make such a statement when guests enter the room. I am all about big WOW factor without spending a lot of WOW!

I first spotted paint chip buntings here. This is genius…free paint chips and some ribbon or twine and you’ve got color and whimsy and decor all in one ~ necessary for any party! And you can obviously tailor to ANY color scheme.

{sneak peek at [beachy brunch] decor}

1. Pick up some paint chips at your local home improvement store ~ I went to Home Depot and got Behr paint chips.

2. Print out this template ~ I used the large size, but there are four to choose from.

3. Trace the template on the BACK of the paint chip to prevent pen marks on the front of your bunting.

4. Cut triangles out.

5. Punch two holes at the top to string the twine through.

6. Arrange your cut paint chips in a row on the floor in a pattern of your choice.

7. Get your jute twine {that you purchased at HD to make you not feel so guilty about helping yourself to a handful of free paint chips} and unroll to the desired length. I like to have plenty on either end to make hanging easier.

8. String each triangle starting from the back and then through to the other side until you have all triangles strung ~ I used 12.

9. Decide how far apart you’d like your triangles and adjust accordingly ~ mine are about 2 inches apart.

10. Hang below your fireplace mantel, across a window sill or out on your front door.

*****

It really is a HAPPY, quick and inexpensive way to decorate for a party or season.

I {may} have picked up some Halloween and fall colors.

Thanks BEHR.

Thanks Home Depot.