Category Archives: Fabric {My “Crafty” Side}

Stripes & Polka Dots

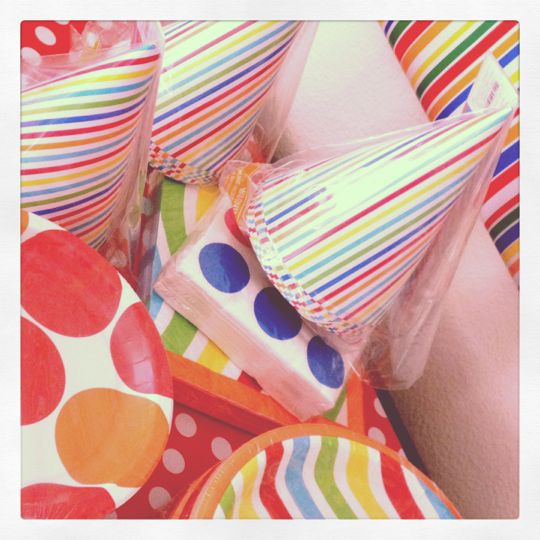
The circus came to town this past Saturday {Holden’s actual birthday} and it was nothing short of chaos ~ beautiful chaos.

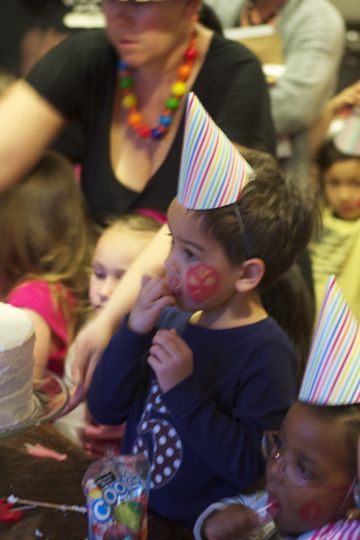
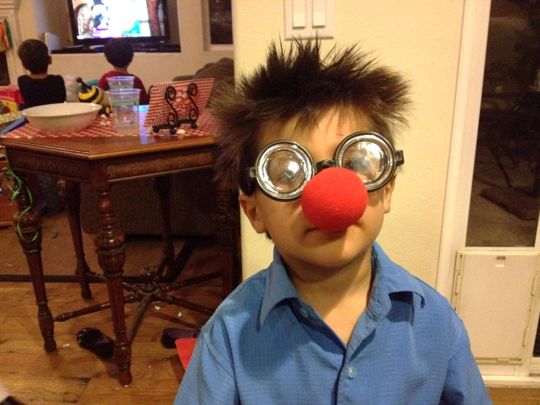
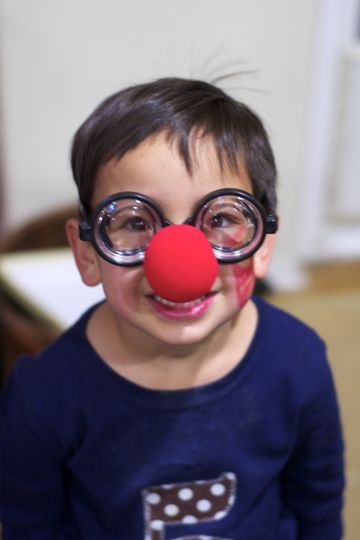
We packed almost 60 {59 to be exact} clowns, big & little, into our circus tent and I think everyone had a grand time.

The day started off with Jay taking Holden to get donuts in the trailer…

*****

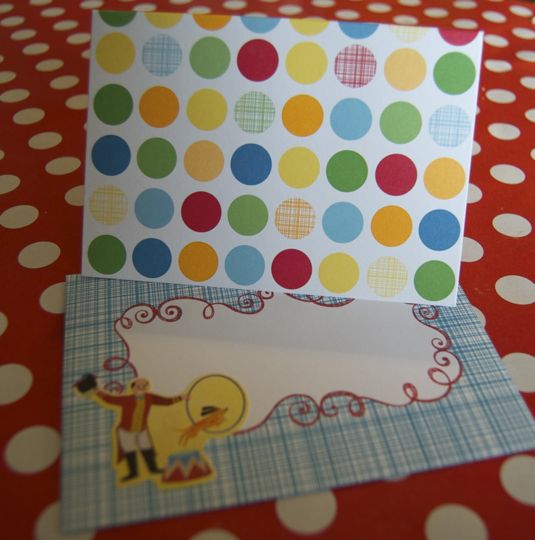
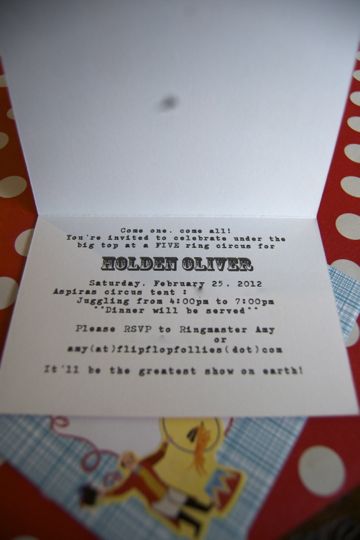
The invites were just thank you notes that I flipped over so the {thank you} was on the back.

{The cards are from Target and the stickers from CVS}

I fell in love with the detail on the envelopes.

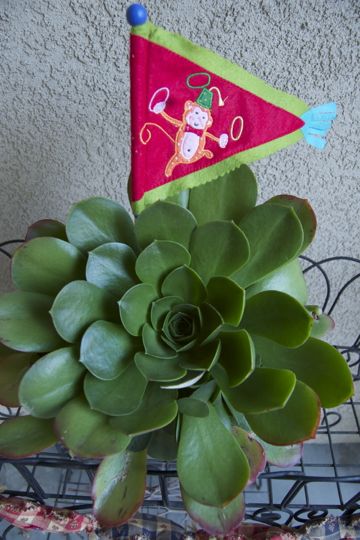
This theme was so fun to plan ~ stripes, polka dots and LOTS of color are right up my alley. About a year ago I found these little monkey flags at Kohl’s for like 49 cents and used them to start the circus craziness.

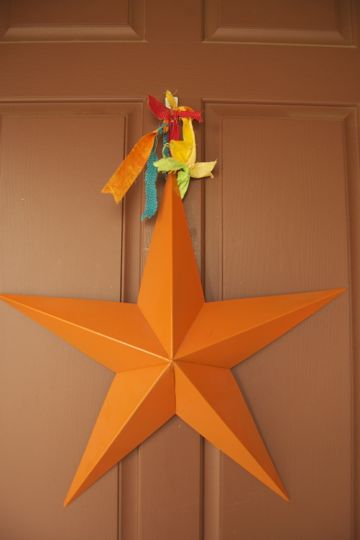
A huge orange star greeted the guests on the front door…

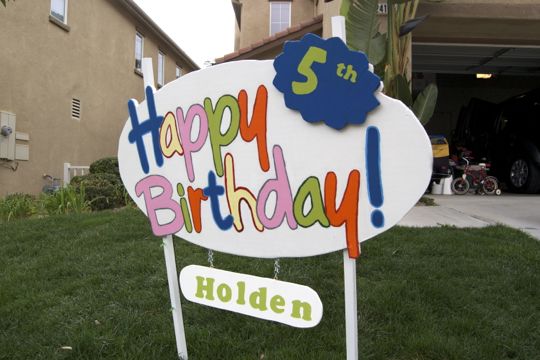
My friend, Hollie, made this cute “Happy Birthday” sign for the front yard.

If you’re local, you can rent it and have it personalized for your special birthday someone. Contact me and I can put you in touch with her! So fun.

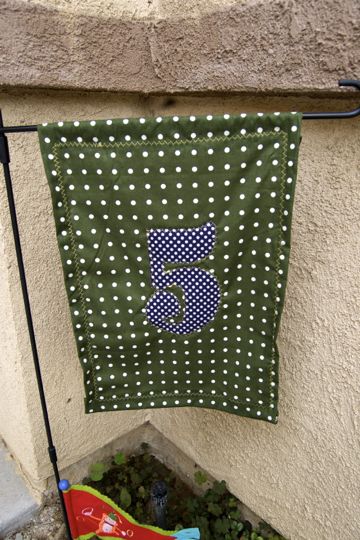
Gramma threw together this “5” banner…

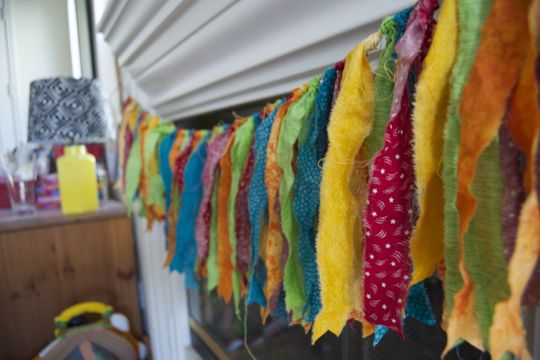
I picked up a rainbow of fabrics and made a little bunting to hang across the fireplace…

{just get 1/4 yard of fabric, rip into 1 inch strips, cut those strips in half, loop around a long piece of twine ~ voila!}

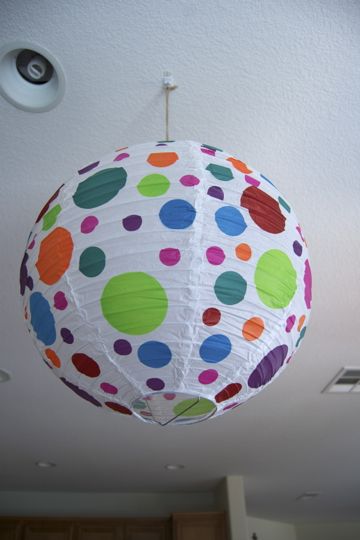
My mom found some polka dot paper lanterns at Pier 1 and I hung 2 of them above our big dining room table…

I love the way they look and want to get some solid colored ones to leave up permanently!

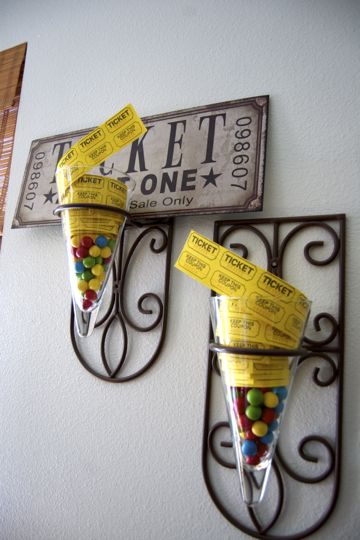
I filled my sconces with bubble gum and stuck rolls of tickets on top…

The large ticket sign is from Kohl’s for cheap…

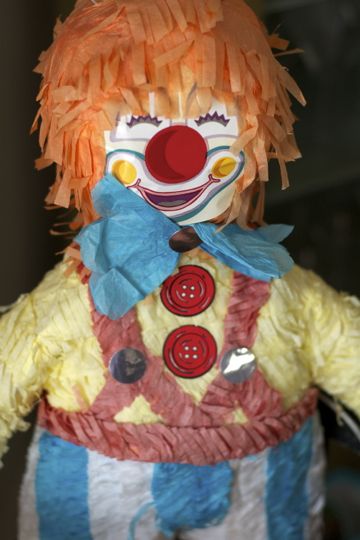
Gramma Kathy got the clown piñata at Party City {this was the first piñata we’ve ever had!}

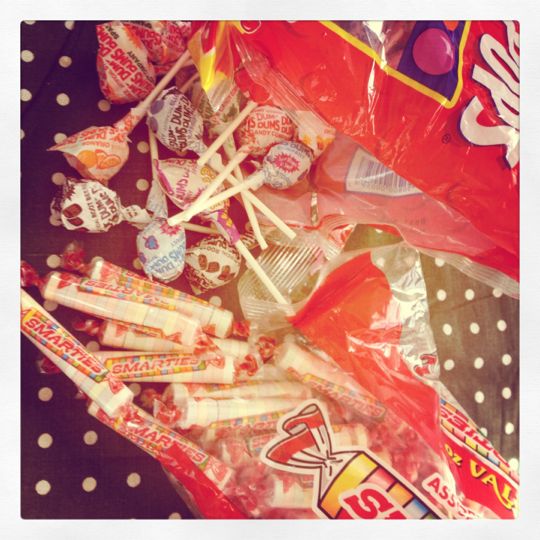
{I stuffed with Dum Dums, Smarties, Mott’s Medley gummies and Florida’s Natural Fruit Nuggets}

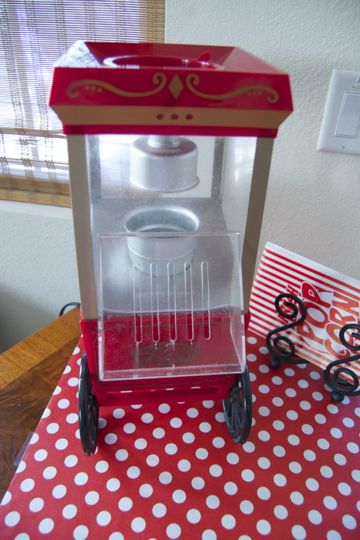
What’s a circus without popcorn?

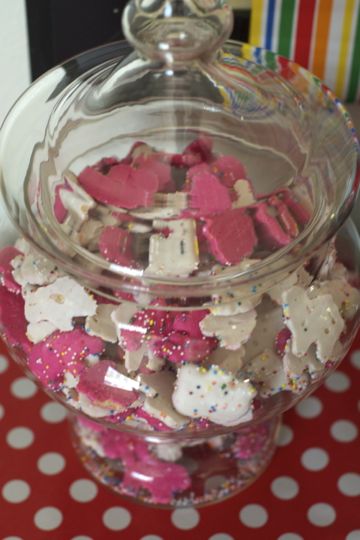
Circus animals with sprinkles are also a must…

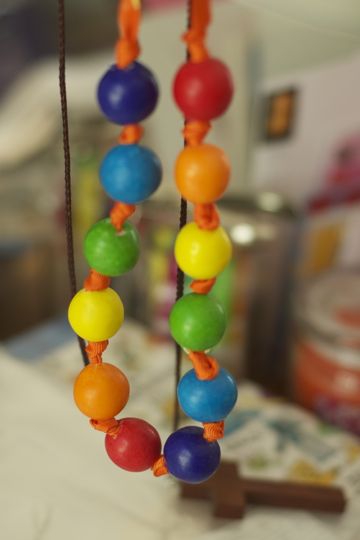
I made myself a gum ball necklace based on this tutorial.

Gramma schlepped her sewing machine up here to make this shirt for the birthday boy…

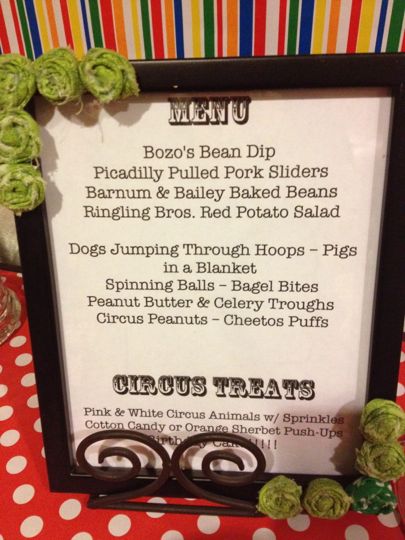
Of course we had to feed all the circus-goers…

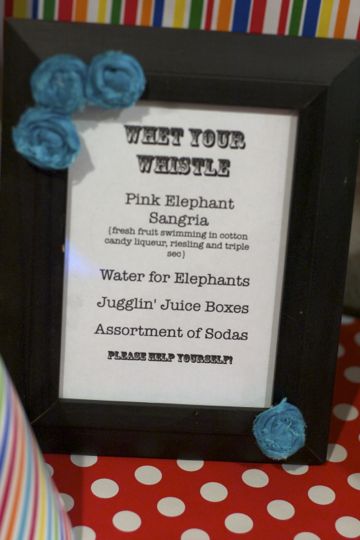
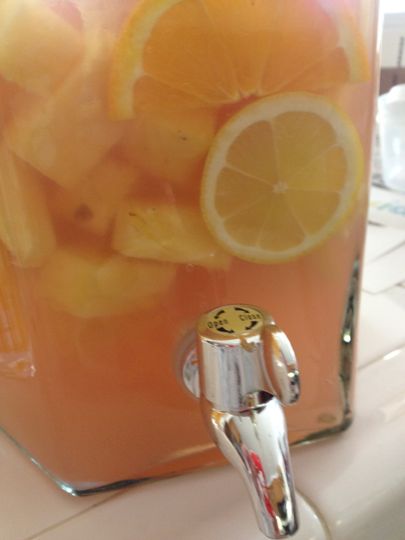
I found Cotton Candy Liqueur and made this sangria…

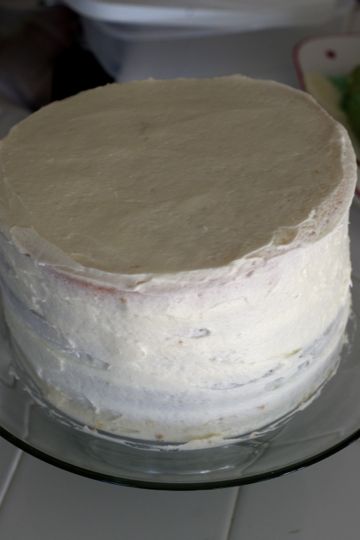
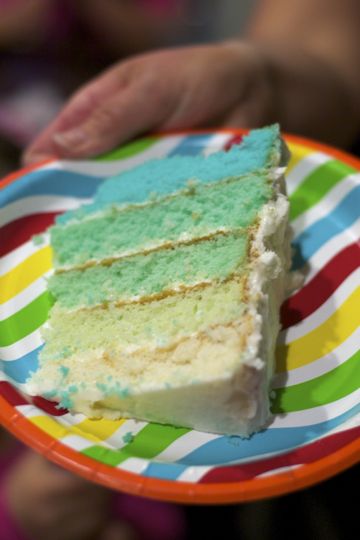
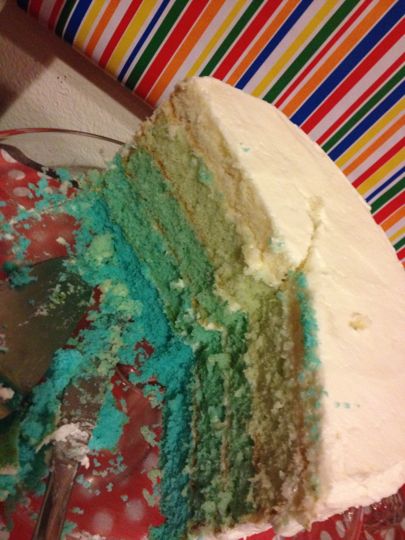
I made a 5-layer ombre cake in cotton candy blue…

I found cotton candy sherbet push-ups at Target {Market Pantry} as modeled here by our darling neighbor Miss Nataliyah and her beautiful mama…

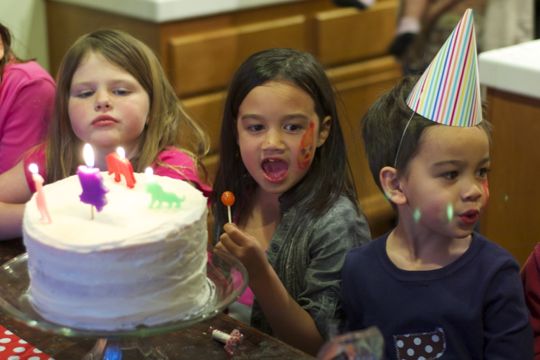
Singing…

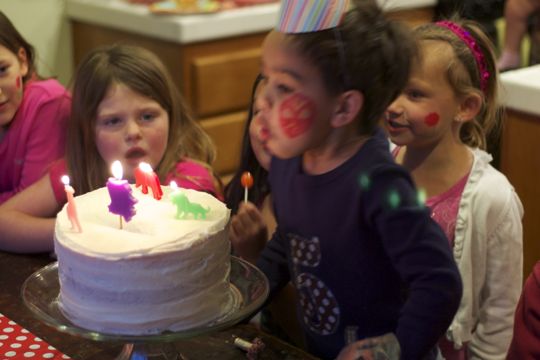
Making a wish and blowing out the candles…

I wanted to set up a photo booth backdrop in the backyard, but it was too windy…the kids bounced in the jumper, hit the piñata, played Wii and ate WAY too much sugar!

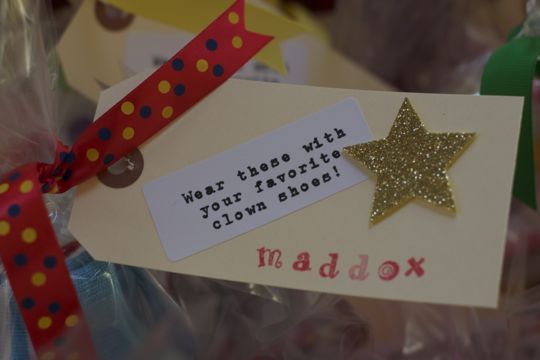
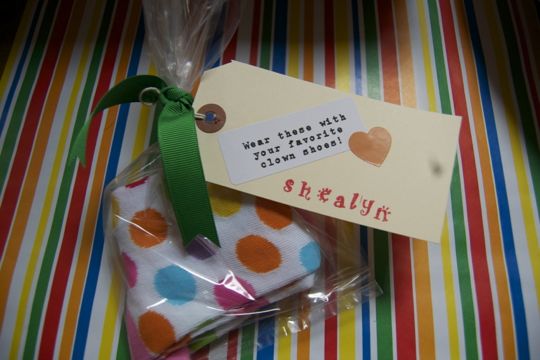
Our little clown friends were sent home with some practical party favors ~ socks! Striped for the boys and polka dots for the girls…

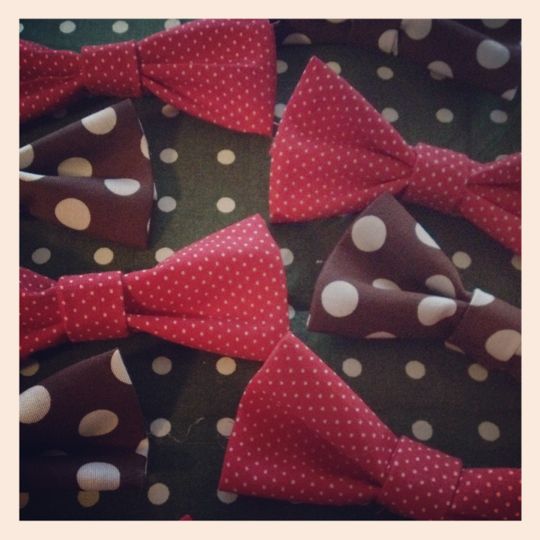
I also made little bow ties for all to take home…if you didn’t get one and would like one, please let me know and I will whip one up.

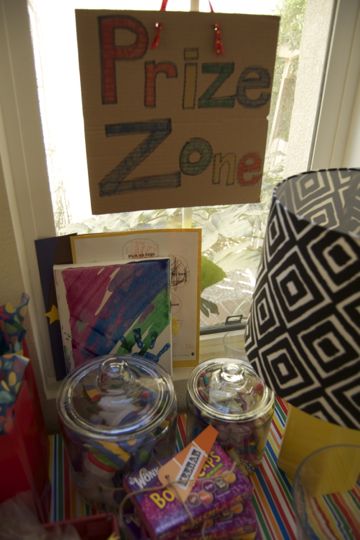
The bigger boys {that are too cool for striped socks} got to take home a box of Bottle Caps…

A huge THANK YOU to the following:

Mia for the props and photo booth stuff

Hollie for the Happy Birthday sign

Karen for the popcorn machine

Alina for the jump house

Sun for her face-painting services

Cheryl & Janet for being my sous chefs

Gramma for her sewing skills

Jay for his photography

Here was my {pin}spiration for this party.

*****

I love putting these parties together for my babies ~ it truly is a labor of love.

Thank you to all who came and helped us celebrate our little clown. He loved having all his buddies there and is such a lucky boy!

*****

This was my happy view from the couch the next morning…

*****

I didn’t think I ever wanted to see another paper plate or plastic fork, but I’ve recovered.

When’s the next bash?

Home Is Where The Heart Is

I’m working on a little gallery wall in our great room…it’s coming together slowly but surely.

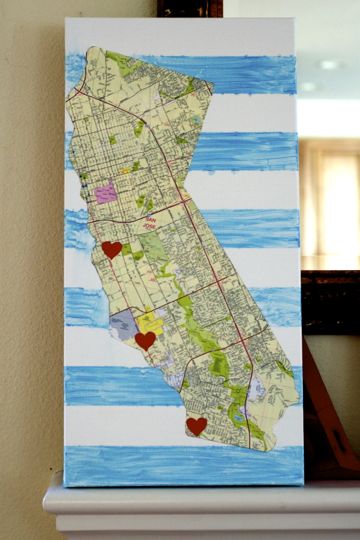
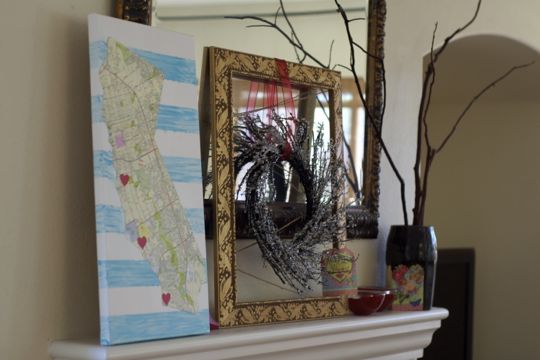
This weekend I finished up a canvas commemorating the cities that we’ve lived in as a family which will eventually become part of the wall.

This was a relatively easy and inexpensive little project. I am mad at myself, however, that I hurried through it and therefore made a few smudges due to my ADD in the crafting department ~ I want things to be dry and done immediately. I don’t really like to wait for the paint to dry and like to just get on with the show and finish it. Something I definitely need to work on….as you can see, I got a little too aggressive a little too soon with the Modge Podge without waiting for the paint to completely dry. I am trying to convince myself that it lends an organic, casual feeling to the piece which I am becoming okay with!

Here’s how this little diddy went down…

1. I found an ugly, weird plastic Lakers sign at Wal-mart in the shape of California…I immediately thought it would make a great template for this project. They were hanging in the clearance area, but did not ring up so. I was not going to pay $10 for an ugly, weird plastic Lakers sign. A return visit a few weeks later found these {lovely} signs marked down to $2 {duh!} and I scooped one up.

2. We had an old street map of San Jose in my glove compartment {hello, who uses maps for driving anymore?} and I traced the California shape onto the map and cut it out.

3. I cut out three little hearts on some red construction paper to identify our {homes} throughout the years in the beautiful Golden State {San Diego, Sunnyvale & Gilroy [San Jose area] & currently Valencia [LA county]}, estimated the location on the map and then glued them on.

4. I then found a canvas at Michael’s for 50% off {12X24 size for $5.99}.

5. Borrowed some of Elliott’s tempera paint in aqua and some thick 2″ painter’s tape from my friend and neighbor, Hollie.

6. Wrap tape around the edges and across the canvas, one next to each other all the way down.

7. Remove every other one to get the striped effect.

8. Use a regular old sponge to brush on the paint because little sponge brush from Joann’s could not be located and I wanted to complete my artwork RIGHT AWAY.

9. Put outside to dry {for longer than I did}. Patience is a virtue.

10. Brush some Modge Podge onto the back of the map and place onto the front of the canvas…smooth out any bubbles. Use a sponge to apply more Modge Podge over the map to secure it down {this is the part when I smudged the paint}.

11. Stick up on your mantel to let dry, stand back and think to yourself, “Doesn’t look too bad from far away!”

That’s it! I apologize for my photo-less tutorial. Perhaps when I find some crafting patience, I will take the time to snap some photos, too.

*****

Linking up over at Angry Julie Monday for Wordless Wednesday : Live Creatively

Angry Julie Monday

Photobucket

Leap!

Leapin’ Lizards!

Where did January go?

February is here and we get one extra day this year…yay!

It may still be the shortest month of the year, but it’s already proving to be a busy one with the Superbowl {go Pats!}, after school enrichment classes, a visit from Gramma, Valentine’s Day, the 100th day of school, Holden’s 5th birthday, Art Night and who knows what else…

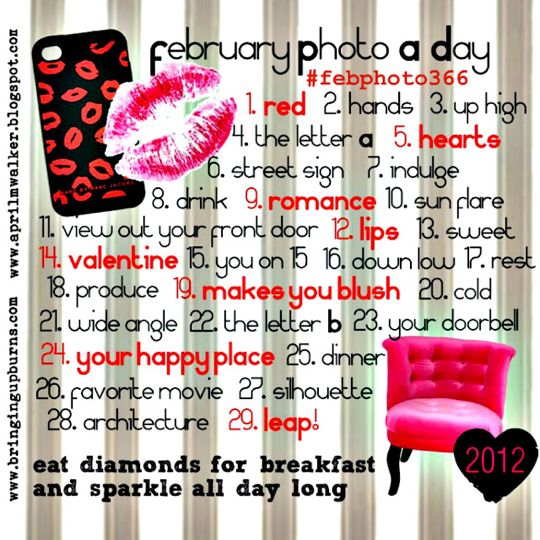
Following along with Erin and April this month and doing a photo-a-day the February way! Follow the fun prompts, snap a pic and share ~ it’ll be fun ~ won’t you join in with me? I must admit that I am stressin’ about #10….sun flare. Going to have to read up on how to capture that one ~ ha!

Here was my entry for today ~ RED:

{down to our last grounds of this stuff from the holidays…wah!}

I’ll be posting these daily on Instagram ~ come find me and follow along: aaspiras

*****

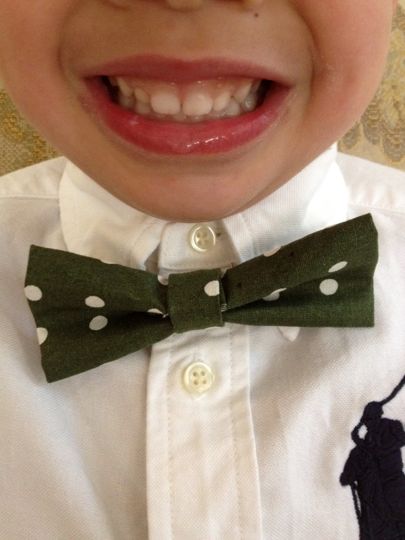
Wednesdays are great days for bow ties, don’tcha think?

Followed this super duper easy tutorial over at The Vanilla Tulip!

So fun.

Here is a better idea of the fabric color….{along with a cheesy grin!}

{I had the green polka dot fabric from Christmas ~ was supposed to go atop mason jars filled with yellow pepper relish for the neighbors…oops! Sorry neighbors. Hope the New Year’s sugar cookie bars made up for it! XO}

I think a little green bow tie bunting for across the mantel mirror would be cute for St. Patrick’s Day ~ time to bust out several more of these cuties.

Would also make cute boy’s bow ties for Easter and matching girl’s hair clips.

Or clip onto the top of a birthday gift….

Thanks again for the inspiration, Ashley!

*****

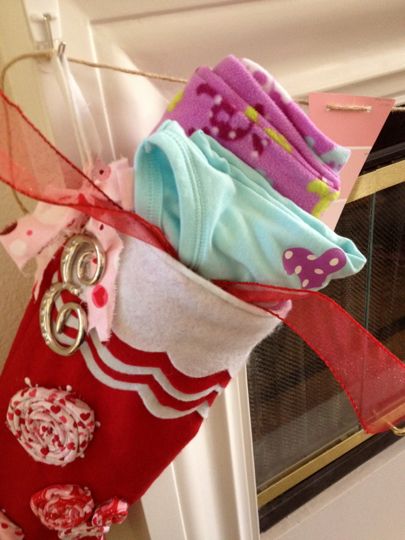
Today is also Day 1 of Valentine stocking stuffers…

{Valentine jammies all washed and ready to wear}

And by Valentine jammies, I mean girly “pirate” {skull & cross bones} ones for Elliott that have hearts for eyes ~ that’s Valentine’s enough for me. Picked them up recently at Target for 70% off. Picked up Holden’s from last year post-cupid at Old Navy for el cheapo, too. That’s how I roll.

They will not be getting {extravagant} goodies every day…maybe a simple fruit roll one day, a dollar store coloring book another day, etc. The new jams were just to kick off February and get into the Valentine’s spirit!

*****

Hope your {leap} into February has been a good one!

What are you going to do with the extra day given to us this month?
The Stockings Were {Still} Hung…

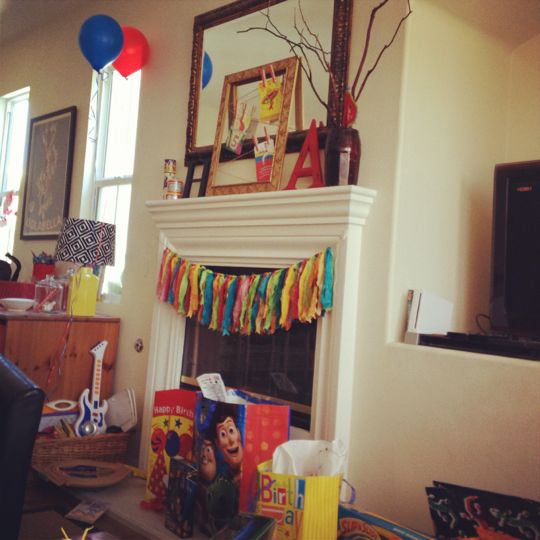
I hated taking down the stockings from the fireplace after Christmas.

While I was out scouring the sales on holiday goodness, I thought about finding some red {or pink. or white.} stockings and transforming them into Valentine’s Day stockings.

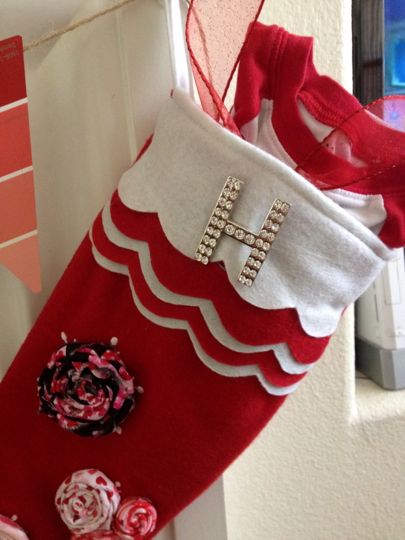
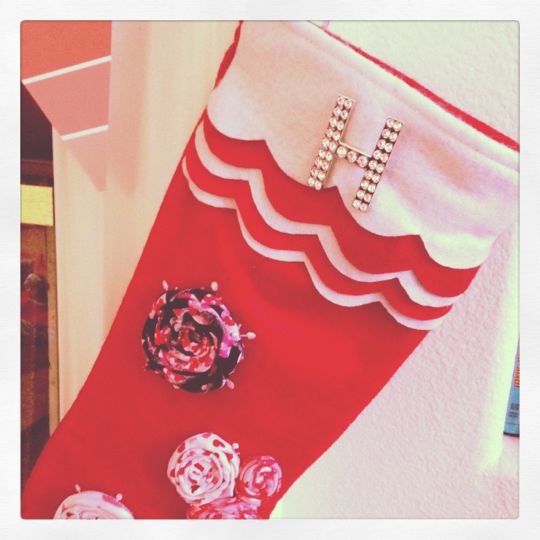
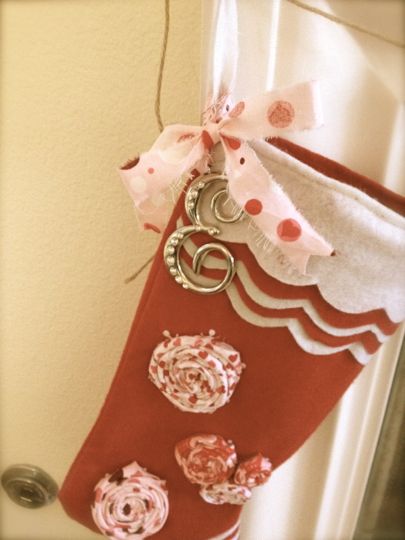
I picked up a sparkly “E” ornament at Kohl’s and an equally, if not more sparkly, “H” pin at Target since I knew I wanted to include the kiddos’ initials.

While picking up some more paint chips at Home Depot, I spotted these felt stockings for 2 bucks a piece. I LOVED the scalloped detail on them, but needed the embroidered snowflakes to melt away. Enter Joann’s and a few Valentiney quarter yards of fabric and the flakes disappeared!

I adore the way they turned out…

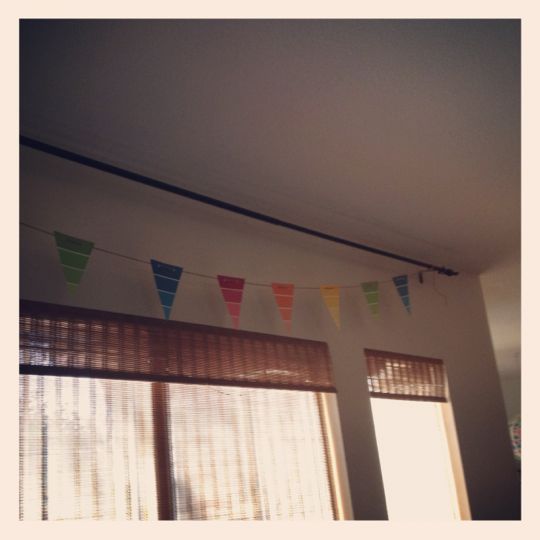
Several red & pink hued paint chips and some twine and you have your V-day bunting…

I wasn’t very good with advent over the holidays so it’s my goal to make up for it and have a little something special tucked in these stockings from February 1st to the 14th ~ I also wanted to find a little Valentine Fairy of sorts and have her move around the house like our Elf on the Shelf, Ferb. They have been asking about him lately…..

Checking {the big P} for some ideas for fun classmate goodies.

*****

Having a couple stockings and a wreath still gracing our mantel makes the absence of the holidays a little sweeter!

Happy Day!

XO

Linking up over at What I Whipped Up Wednesday @ Sugar and Dots!

And come get some fantastic Valentine’s Day mantel inspiration by clicking on the button below…

Home Stories A2Z

Semi Handmade

Need a last minute gift and want to personalize it a bit?
Hot glue a few rosettes to a store bought cosmetic bag, clutch, cloth wine bottle gift bag or even a plain stocking…again, I learned how to roll rosettes from this tutorial and found it very easy.

I recently picked up a remnant of thin, sheer red fabric at Joann’s that I think makes better rosettes that the thicker fabrics…

These little corduroy mary janes caught my eye at Tilly’s and I am just bummed they didn’t have them in woman’s sizes! They were on clearance for $10…my mom picked up a pair for Elliott and I stuck on a couple small rosettes at the toes.

I found a 3-piece set of the cheetah print cosmetic bags {small, medium and large} at Ross for $9.99, embellished them and gave them as Christmas gifts to my mother-in-law, Elliott’s dance teacher and this one is a surprise!

*****

I’m the Sandra Lee of the crafting world ~ ha!

Only about TWO more days…do you still have things to check off your lists or will you be spending the next couple days chillaxin’?

I need to grocery shop for 8 people for about 7 or 8 meals and pick up a couple last minute things, but after the looks of Target this afternoon, I am afraid…very afraid.

Wish me luck!

Hoping you get all your errands done and your out-of-town guests arrive safely.

XO

Like A Gingerbread Man With It’s Head Cut Off

Oh my.

It’s been 5 days since I’ve posted! Every day I plan on sitting down and doing so, but it just hasn’t happened.

My days have been filled with the following…

driving around to four stores looking for gingerbread syrup for some martinis…then it dawned on me that I could have just walked into Starbucks and possibly begged them to buy a {tall} gingerbread syrup. Then I visited every CVS in town tracking down some calendars. I tell you, once I get something in my head, there’s no stopping me.

making more of these with Caramel Kisses {delicious, but don’t press the m&m down too hard or you will have oozing caramel which isn’t necessarily a bad thing, just not as tidy for packaging them up nice and neat} and the Hugs {milk chocolate inside white chocolate with stripes ~ those turned out super cute! {you can see the salted caramel ones to the right ——-> under my Instagrams}

Our little ballerina partook in her fourth recital and Gramma and I had the {pleasure} of working backstage. Keeping track of a dozen tutu’d 4-6 year olds is no joke. This paranoid mom was doing a head count every 10 seconds when I wasn’t filling cups with goldfish or providing water refills, that is. I {think} I may prefer sitting in the audience cheering on my girl rather than stressing backstage and applying lipstick touch ups at the last minute, but she’d been wanting me to be a stage mom for some time and I most certainly didn’t want to let my little lady down. Thanks again, Gramma, for being on potty duty!

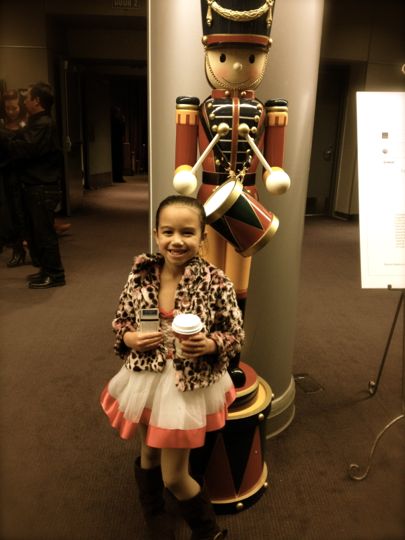
Also, thank you to Gramma for starting a beautiful new holiday tradition and treating to front row seats at our local production of The Nutcracker. I was amazed at all the beautiful young dancers….my goodness. My girl decided to wear her costume straight from her recital to the ballet ~ swapping her ballet slippers for some boots and adding in one {Fancy Nancy} coat…

Holden sang a very simplified version of {Soon And Very Soon} in church on Sunday ~ You Tube to come!

I hosted a little Merry Mama gift wrapping to-do where several gals came over armed with rolls of paper, rolls of tape, bags of gifts and lots of chit chat. This was where my gingerbread martinis were supposed to make an appearance, but honestly my girls were so busy wrapping they didn’t even notice! I served the Winter White Wine sangria, artichoke dip, cranberry meatballs and Christmas pasta salad {2 packages Buitoni spinach tortellini, one box small shells, 4 small tomatoes [chopped] and a whole bottle of Bernstein’s Light Fantastic Cheese Fantastico ~ cook both pastas [separately] according to package directions, add chopped tomatoes and then stir in the bottle of dressing…can be made the night before} along with my beloved Hershey pretzel snaps and See’s molasses chips for a little sweet somethin’.

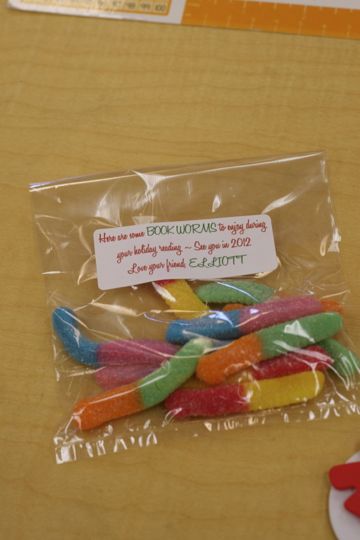
My little Pinterest find came together for treats for Elliott’s classmates:

{I picked up a bulk bag at CVS and divided them up into cello bags, but later found them prepackaged in a box of 24 at Smart And Final which is the route that I will go for Holden next year}

I also literally threw together a frame and some glitter clothespins to hold thoughtful gift cards from the kids to E’s teacher ~ one Goodwill frame, a can of black gloss Rustoleum, some twine, a glue gun, some clothespins {thanks for lookin’ out, Lisa!} and a rainbow of glitter…

These frames are also perfect for displaying Christmas cards during the holidays or birthday invitations throughout the year. Just get yourself a frame and discard the graphic and glass, spray paint it if need-be, use your glue gun to string twine across the frame every 4 inches or so by pulling it tight and securing it with hot glue onto the back of the frame. Easy. For the clothespins, just brush some Elmer’s glue onto the pin with a foam brush, sprinkle on your glitter over a bowl, shake off excess and let dry. Easy.

*****

And that is where I’ve been, friends! I’ve missed you and hope to post more regularly now that the kids are both out of school and we’ll be having some LAZY mornings days while they’re on break.

Hallelujah!

Five Minutes To Festive

Need a quick, easy and cheap way to decorate for Thanksgiving and/or Christmas?

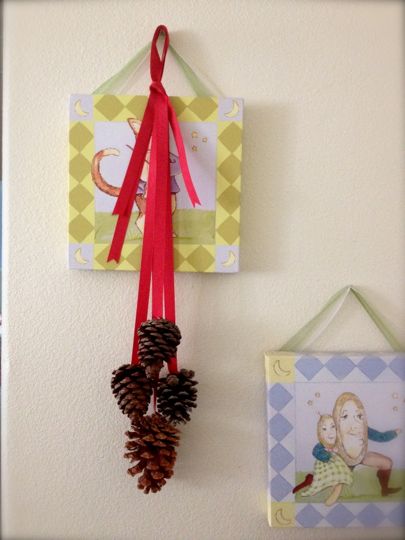
I spotted this on Pinterest and knew immediately that this {craft} was made for me. Literally FIVE minutes and you’re done.

1. Grab some pinecones {Holden and I found these at our local car wash!}

2. Pick up some ribbon {I got this 5 yard roll of red grosgrain at Dollar Tree ~ they have tons of other colors, too}

3. Cut to desired length and quantity

4. Fire up your glue gun, put a generous amount of glue on the bottom of the pinecone and attach the ribbon

5. Arrange in different lengths and tie a loop or a knot at the top

{They dry in just a few minutes and are ready to hang}

How simple is that?

Next time I will cut the ribbon shorter and make them fuller with about 6-8 pinecones, but I was just playing around this morning while Holdy is at school and wanted to share with you so you could whip some up yourself!

I think one would look great on a front door…also we have two shutter-type things on either side of our garage window along the walkway to our house and I think two of these flanking the window would be a nice, simple decoration along with the little white lights that I hope to hang this year! {Jay, you hear me? ;-)}

When it comes to outdoor holiday decor, I am a minimalist.

I think these pinecone danglies fit the bill.

Happy pinecone gathering!

XO

Paint By Number

Last Friday night my birthday festivities continued with a few neighbor/friend ladies at Color Me Mine . My friend Hollie made the arrangements and brought wine, appetizers and cupcakes to nibble on while we were painting. So fun!

These {paint a ceramic} places have been around for awhile now and I must admit I was never really too interested. I am terrible at choosing colors, can’t draw and my inner critic is much too harsh. If they had a {paint by number} platter where all the colors were pre-chosen and I just had to fill in the design, that would be perfect. Not so. Complete blank slate!

Elliott, however, expressed an interest and was given gift certificates for her last couple birthdays. I took her both times and sat and watched her paint her plate and mug…each time I looked around the store at all the pieces available and thought, “OK, this is something that I might like to do!” It is very deceiving because when you finish your masterpiece, it looks pretty drab and dull and you’re thinking, “this can’t possibly turn into something beautiful!” But after they fire and glaze your piece, it looks amazing no matter what ~ the colors are WAY brighter and it has a gorgeous shine.

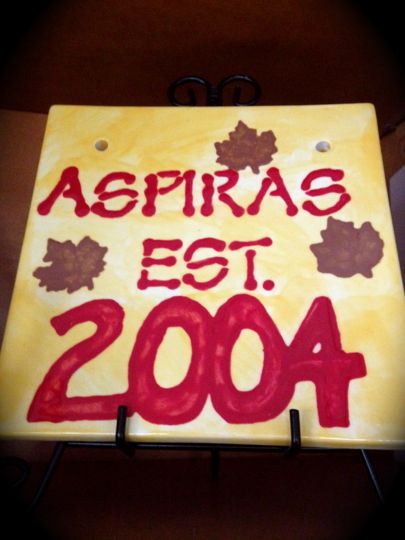
I decided to make a family sign…

I wanted it to be bright and cheery with a little reminder of our Fall wedding hence the leaves.

I love how it turned out….I’m going to get some copper wire and glass beads and hang it in a gallery arrangement above our antique couch. I hope it looks as good on the wall as it does in my head.

I highly suggest planning a mama’s night out and doing this. They have stencils, sponges, tape for straight lines, etc. ~ everything you need to make your piece spectacular! You can totally use pencil, paint over it and it won’t show in the end…that part saved me! 😉 The staff is very helpful, too.

Don’t forget to enter my little giveaway ~ only about 15 hours left! 

Tell Your Story

I’ve mentioned the journal exchange here a couple times and I wanted to share the final product. These would make inexpensive, yet personal Christmas gifts and take no time at all to put together.

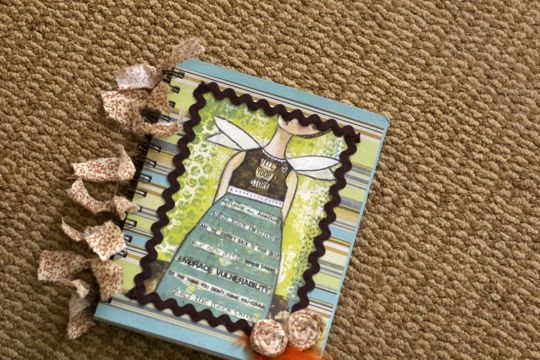
Here is the journal that I sent off to my partner, sweet Sarah, in Charleston, South Carolina…

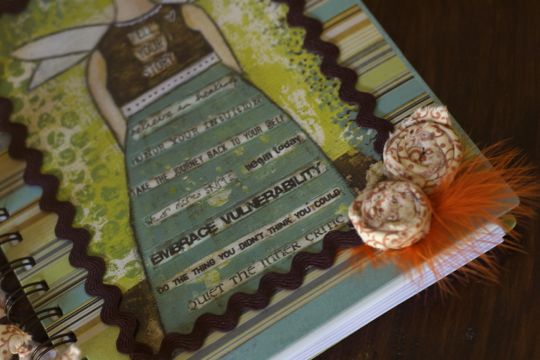
Sarah mentioned that she liked blues, greens and earthy colors…I immediately went out in search of inspiration. First, I found a Trader Joe’s greeting card that I fell in love with and it just so happened to have all {her} colors. I then was on the lookout for lined journal that was simple enough and coordinated with the card and found one at Target. It ended up matching perfectly! I loved that it had a little plastic folder inside {for receipts, business cards and such} along with two little dividers that could be labeled and used for different purposes. The journal was also made of eco-friendly materials which I try to support as often as I can.

Next I picked up some chocolate brown ric rac and coordinating fabric remnant for some little rosettes at Joann’s. I had some colored feathers and chose the orange one for a pop of color and a little added pizzaz.

I cut the back of the card off so it’d be less bulky and hot glued it on the front of the journal ~ I tucked the little feather under the corner of the card. I then finished off the edges wit the ric rac, again using hot glue. I rolled a couple small rosettes {using this tutorial} and glued them down on the corner. I took some ripped fabric strips and tied them off at every other spiral and called it a day! I was pretty pleased with the way it turned out.

I have seen this artist’s work here and there in gift shops and my local drug store, but forgot to jot it down off the back of the card…I love, love, love the quotes, sayings and drawings by this artist and am going to track it down and share it when I do. If anyone knows, please holler at me!

{Tell Your Story}

Believe in healing

Honor your intuition

Take the journey back to your self

Wear more skirts

Begin today

Embrace vulnerability

Do the thing you didn’t think you could

Quiet the inner critic

GREAT words for us ALL to live by…except for maybe the {wear more skirts}.

*****

Here is the journal I received from Sarah! I absolutely love it and soon it’ll be filled with lots of ideas, dreams, lists, recipes, etc.

Thanks April for hosting!

Makin’ A {Pinterest} List

The last 10 weekends of the year are already filled on our little calendar…I am already beginning to panic and wonder when I am going to fit in Christmas shopping, homemade gifts, sweet treats and wrapping.

I’ve picked up several little goodies for Christmas gifts here and there and have made a list of tasty little morsels that I want to deliver to the special people in our lives. I figure you can never start too early…..if I know myself, I know that I will wait until it’s too late and stress about it. So with that said, I am planning ahead this year, getting things done so that when December 1st rolls around all I need to think about is picking out our tree, decorating the house, Jay’s birthday, visiting Santa, touring the lights, holiday parties, dance recitals, gift wrapping party, baking and cooking for the family and enjoying the dazzle of the holidays.

{obviously the food items will be made closer to Christmas, but at least I can shop for some supplies now}

For the neighbors:

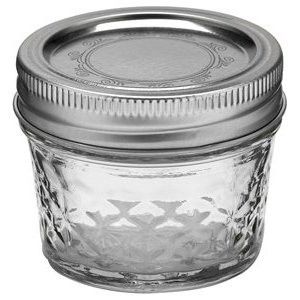
Yellow Pepper Relish jarred in quilted Mason jars with a little tag that reads something like, “Relish in the magic of the holidays ~ spread this on your favorite sandwich or burger and enjoy!”

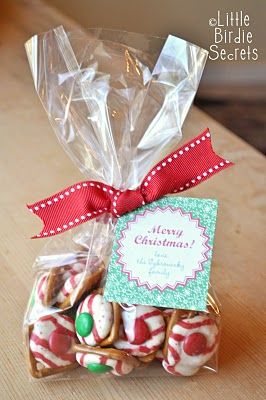
For the doc’s office, hairdresser, dog sitter, school office staffs, etc.:

{via}

Gift tag: “Naughty & Nice pretzel bites ~ a little salty, a little sweet! Merry Christmas from The Aspiras Family”

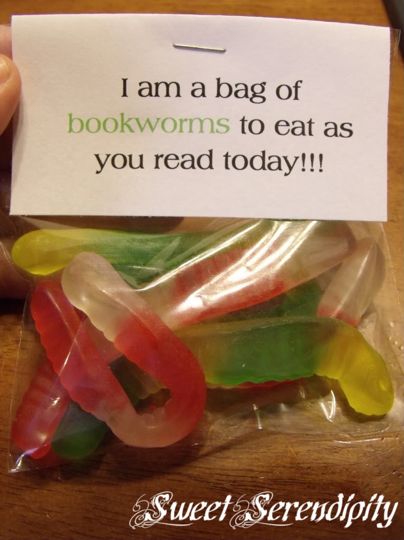
For Elliott’s classmates:

{via}

Gift tag: “Here are some “bookworms” to enjoy during your holiday reading! See you in 2012!”

For Holden’s classmates:

{his preschool is totally ANTI sugar so I thought these would be perfect}

{via}

Gift tag: “Have a COLORFUL holiday! See you in 2012!”

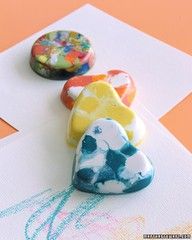
{I have already experimented with making the crayons…when Popsi was here visiting in September, he and the kids unwrapped all our old, broken crayons. I picked up a dozen silicone cupcake liners {square & triangle shaped} and did a trial run the other night ~ 200* oven for about 20 minutes. When the crayons are all melted, turn off the oven AND LEAVE THEM IN THERE TO START TO COOL. If you attempt to remove when they are still too liquid, you will mess them up! Take them out after about 30 minutes and set on your counter for another hour or so…then they will be ready to pop out of the liners. This was such an easy process…going to pick up some brand new crayons and make another batch so each of his classmates gets 3 or 4 crayons. Will post a pic in about 2 months {ha!} before we go and deliver them. Here is the tutorial that I followed}

I see LOTS of little clear cello bags, ribbon and gift tags in my future, but I am excited to put my Pinterest finds to work instead of them just looking pretty on my virtual boards!

*****

What are you eyeing for your holiday goodies this year?

If you need an invitation to Pinterest for some inspiration, I can certainly help you with that ~ just say the word {insert evil laugh here}. However, I cannot be held responsible for all the time you will waste spend browsing and pinning.

Happy Humpday!